


When it comes to surveillance systems, having security cameras record 24/7 is an excellent method to ensure you have eyes on what matters the most. Unfortunately, storing all that data can be challenging without daily rewriting/erasing. Recently, I had two personal NVR’s that needed to expand on their ability to store surveillance data, so I wanted to share some tips I learned in the process.
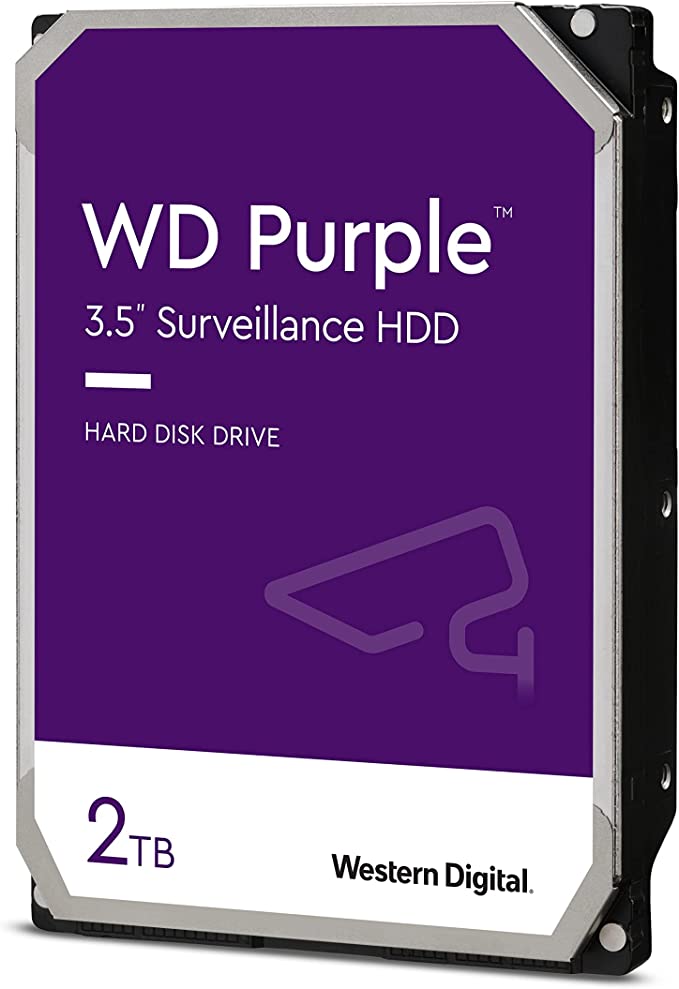
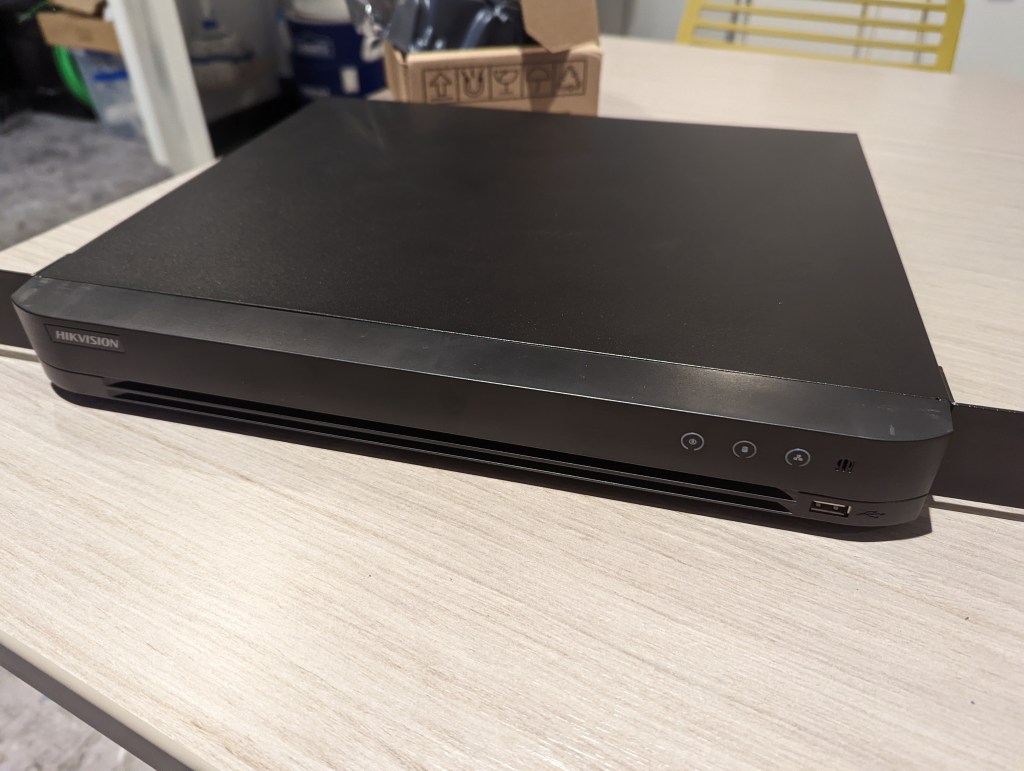
The systems in question are two 4K 8MP 16-channel NVRs with pre-installed 4TB HDDs. At the beginning of the project, research is crucial. After spending some time going over the specs of the device, I found that it can hold 2 HDDs using standard SATA connectors with a max size of 8TB for each. Different from a standard PC, DVR/NVR HDDs will have a near-constant uptime, requiring a specific type of HDDs to ensure long life and high availability of the data. In the end, I decided to go with a Western Digital 8TB WD Purple Surveillance HDD for both NVRs that boast 6 GB/s write speeds with a 128MB cache.
After the HDDs arrived, I went ahead and began removing the NVRs from the rack it was installed in but made sure to take pictures and label each camera’s network cable and its relative position. Installation of the new HDD was quite simple, however, needed both a SATA and power connector. While I had many SATA cables on hand, I only had one power connector that seemed like it would work (they use a specific type for connecting to the board).
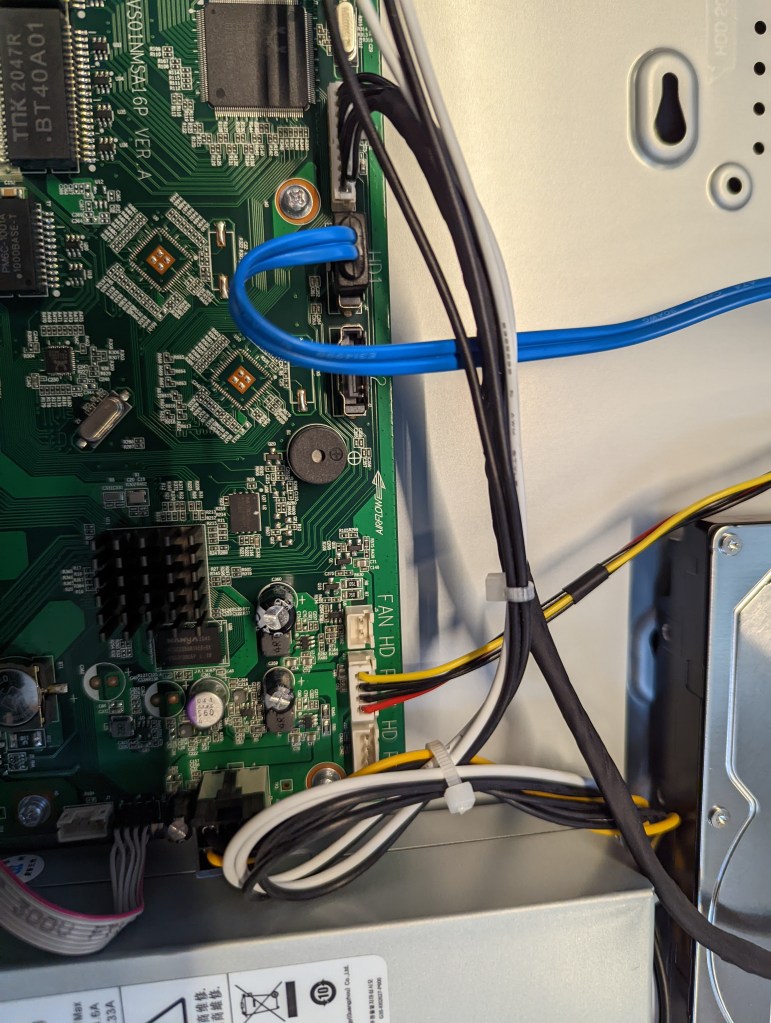
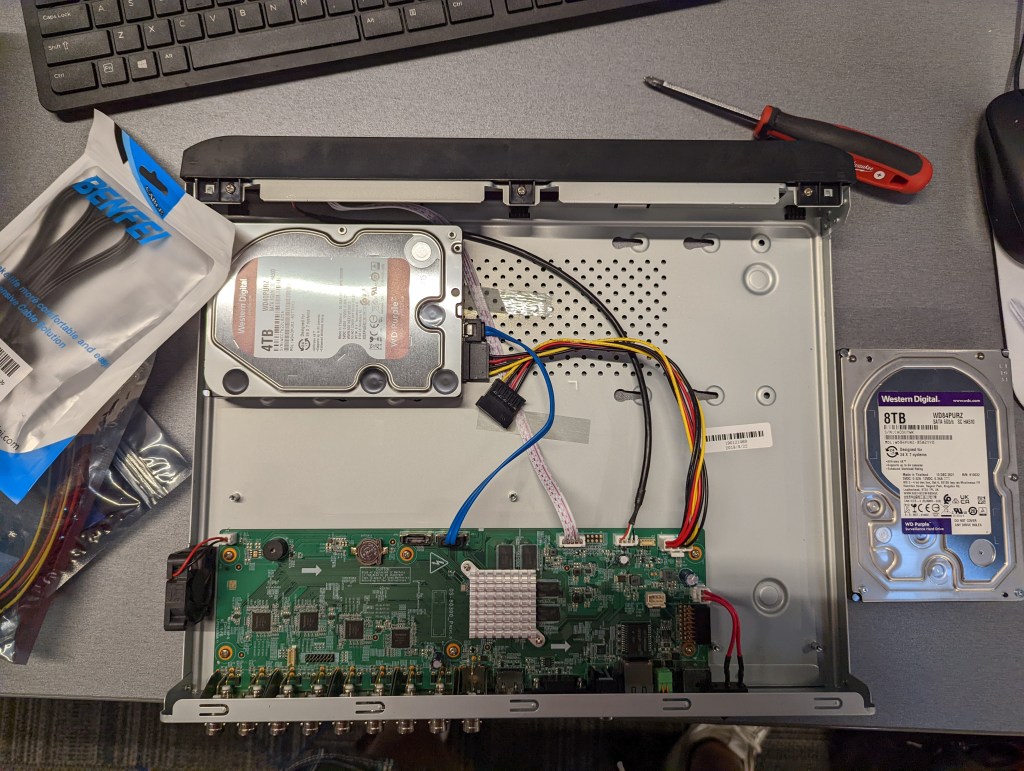
First, I merely installed the HDD next to the original and hooked everything up so that the original HDD would be the primary drive with the new HDD as just additional storage- this is where I began to run into issues. Once I installed everything, I went into the NVR’s GUI and while it showed the new HDD, it was in an ‘abnormal’ state and did not allow me to format it. Thinking at this point it was a bad HDD, I swapped another HDD into it (I bought 2), but this time, went ahead and changed the priority of the HDD with the new one as primary; this ended up working perfectly.
For the second build, I ended up trying to use the HDD that I had issues with, and figured out that it was indeed a bad HDD. Once I installed a new one after returning the old, everything worked great. Again, I did the same procedure as the first NVR by placing the new, larger HDD in the primary position.
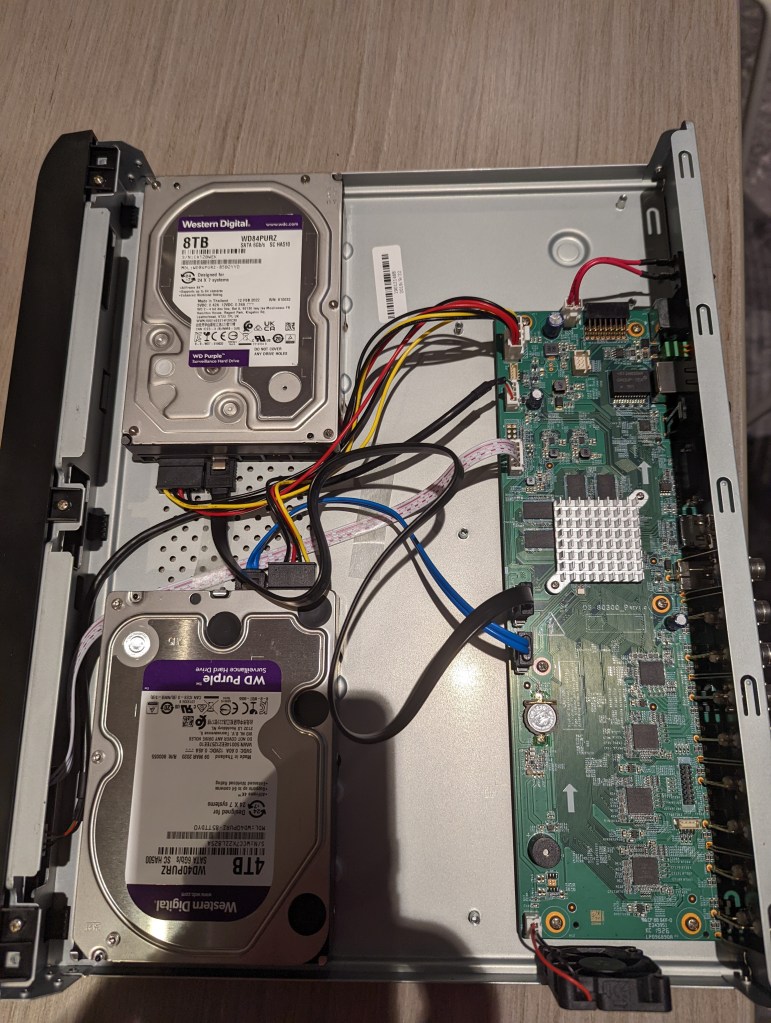
Overall, it was a simple project, but enjoyable as this was the first time I have worked on the internals of an NVR. With each NVR going from 4TB to 12TB of storage, this upgrade will allow the cameras to record for longer before needing to rewrite or erase.
Categories: Hardware


