

After upgrading my main PC, I found myself with a pile of perfectly usable leftover parts. Instead of letting them collect dust, I decided to put them to work by building two PCs for family members—one for my father and one for my nephew—plus sneaking in a storage upgrade for my own rig while I was at it.
My father mainly plays Fallout VR, and my nephew spends his time slaying dragons in Skyrim, so neither build required cutting-edge, wallet-melting hardware. Still, I wanted both systems to be reliable, quiet, and easily upgradeable.
Tips for Building a Frankenstein PC
Building a PC from leftover parts can be very cost-effective, but it’s also where most compatibility and reliability issues show up. Here are practical, experience-based tips to help you avoid common pitfalls and get a stable build.
1. Inventory and Compatibility First (Before You Build)
Do this before putting anything in a case.
- List every part: CPU, motherboard, RAM (speed + DDR gen), GPU, PSU, storage, cooler, case.
- Check socket + chipset compatibility
- CPU ↔ motherboard socket
- CPU generation ↔ motherboard BIOS version
- Confirm RAM compatibility
- DDR3/4/5 must match the motherboard
- Mixed RAM sticks can work, but often cause instability
- Check PSU connectors
- 8-pin CPU power (some older PSUs lack it)
- GPU power (6-pin vs 8-pin)
- Case clearance
- GPU length
- CPU cooler height
- PSU form factor
Tip: If parts are from multiple eras, motherboard compatibility is the #1 failure point.
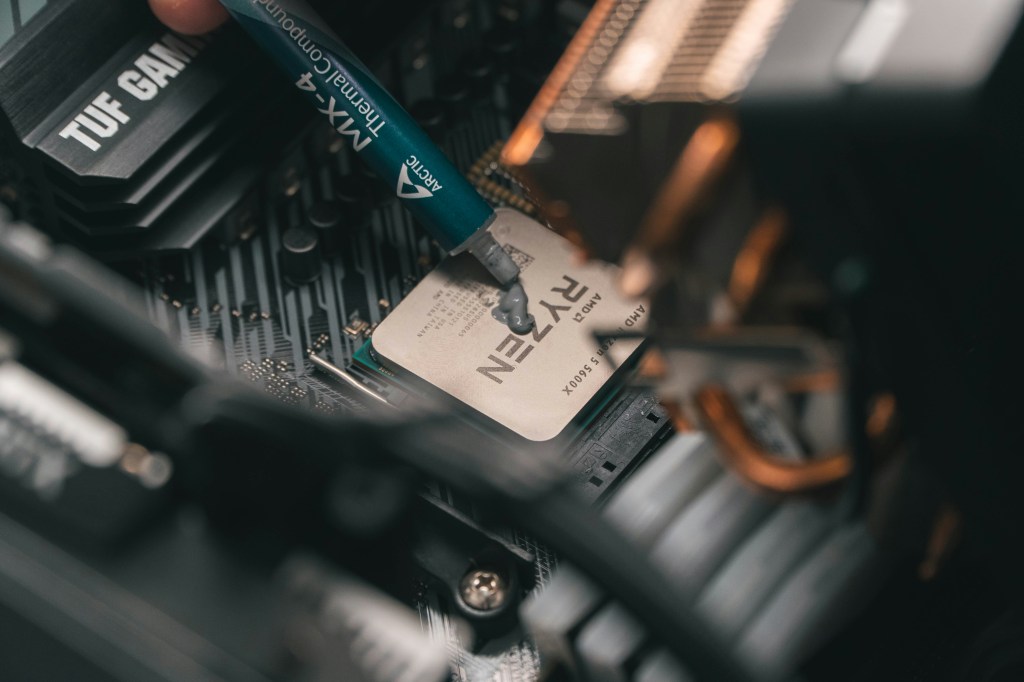
2. Assume Old Thermal Paste Is Bad
Any reused CPU or cooler should be treated as bare metal.
- Clean with isopropyl alcohol (90%+)
- Reapply fresh thermal paste
- Check cooler mounting hardware matches the socket
Old paste = bad temps = random shutdowns.
3. Don’t Trust Old Power Supplies Blindly
PSUs degrade over time, even if they “still work.”
- Avoid very old or no-name PSUs
- Check:
- Wattage headroom (especially with GPUs)
- Bulging capacitors (if visible)
- Fan noise or grinding
- If the build will be used by someone else → replace the PSU
A bad PSU can kill good parts.
4. Breadboard Before Final Assembly
This saves hours.
Test outside the case:
- Motherboard on the box
- CPU + cooler
- One RAM stick
- GPU (if no iGPU)
- PSU
Power it on and confirm:
- POST
- BIOS access
- CPU and RAM detected
If it fails here, it would’ve failed in the case too—without scraped knuckles.
5. Expect BIOS Updates (Plan for Them)
Leftover parts often span generations.
- Older motherboard + newer CPU = possible no-POST
- Check:
- BIOS Flashback support (no CPU needed)
- Availability of a compatible “helper CPU”
If no flashback and no helper CPU → the build may be blocked.
6. Storage Gotchas
- Old drives may:
- Be slow
- Have failing sectors
- Contain legacy OS installs
- Always:
- Secure erase or fresh format
- Check SMART health
- Mixing SATA + NVMe is fine, but confirm the board doesn’t disable SATA ports when NVMe is used.
7. Cooling and Airflow Matter More in Frankenbuilds
Mixed parts often = mismatched thermals.
- Replace dried-out case fans
- Make sure airflow direction makes sense
- Watch VRM temps on older boards with newer CPUs
A “working” build that throttles is still a bad build.
8. Don’t Overclock at First
Stability first.
- Run stock settings
- Enable XMP only after confirming stability
- Stress test:
- CPU (Cinebench, Prime95 light)
- RAM (MemTest)
- GPU (Heaven, 3DMark)
Only tune once you know the baseline is solid.
9. Plan the Use Case Honestly
Ask yourself:
- Is this for a kid, media PC, server, or backup machine?
- Does it need:
- Windows 11 compatibility?
- Wi-Fi?
- Quiet operation?
This helps decide where it’s okay to compromise—and where it’s not.
10. Label and Document the Build
Future you will thank you.
- Write down:
- Exact parts used
- BIOS version
- PSU wattage
- Label cables if it’s messy
Frankenbuilds are hardest to troubleshoot later.
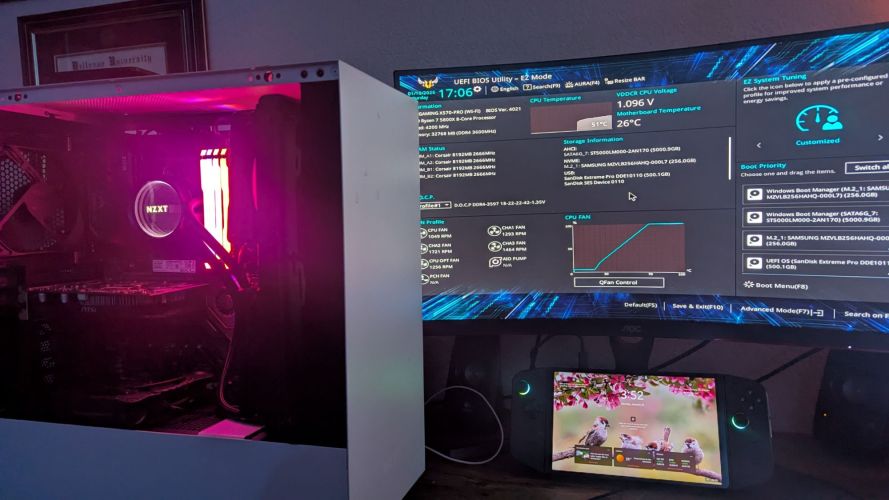
Dad’s Fallout VR Build
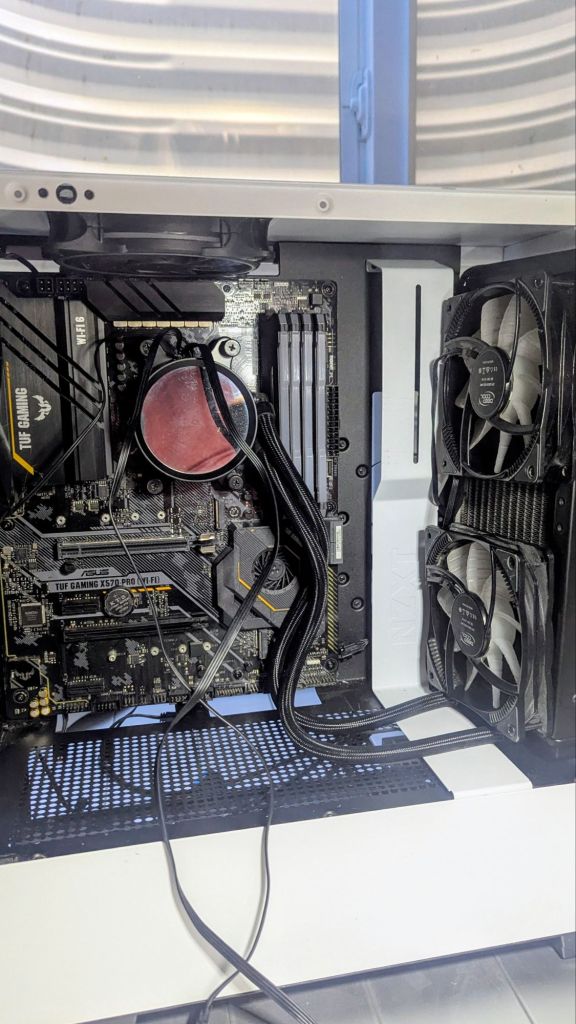
I finally carved out some time over the weekend to finish my father’s PC. This one was relatively straightforward since the CPU, RAM, and AIO were already installed on the motherboard.
The biggest challenge? Fitting a 280mm AIO into a much smaller case. I ultimately had to run it as an intake—far from ideal—but workable. At the moment, the radiator is resting against the front of the case. It’s secure enough unless someone decides to shake the PC like a maraca.
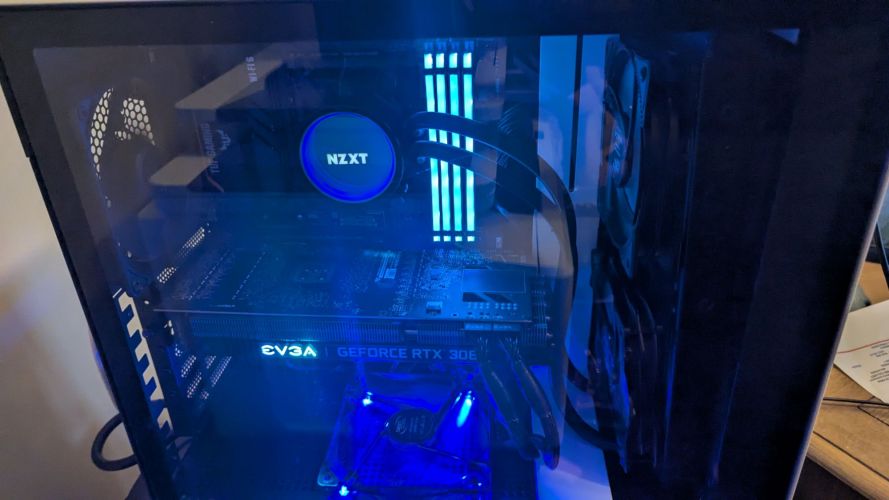
Once I got everything installed, I spent some time trying to get my old EVGA 3090FTW to work after it died in a previous build, but I was unable to. Gladly, I had a very old GPU to use to just get video working, as my CPU didn’t have this capability. For Fallout VR, I figured a 3080 would suffice, so I managed to stuff that in there as well. For storage, I added a Samsung 980 1TB NVME boot drive, a Samsung 1TB 970 NVME drive, and a 2TB Samsung SSD.
Here is my to-do list:
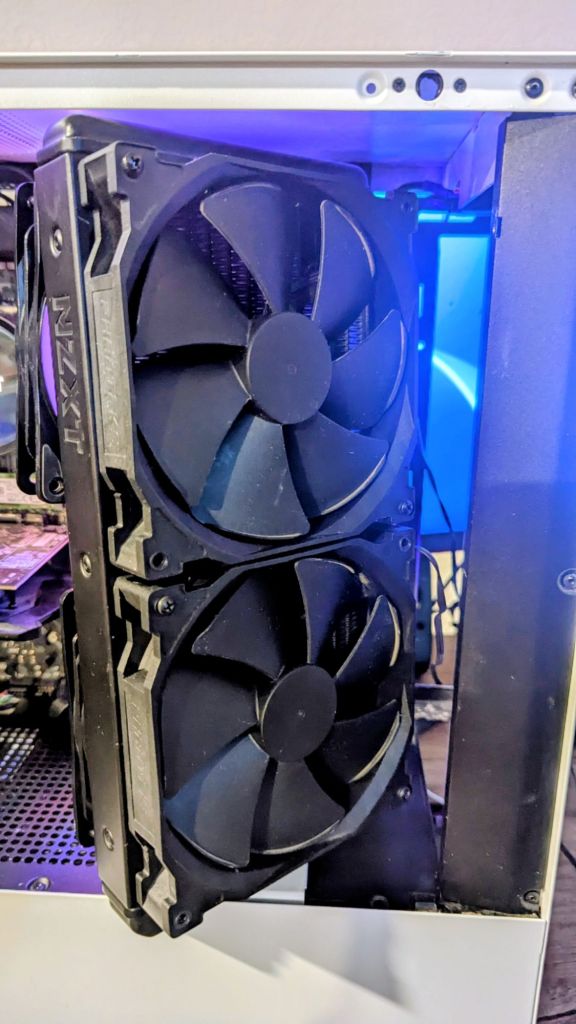
Fix RGB: The 2 DeepCool fans I am using as exhaust on the radiator are RGB-enabled, but I couldn’t locate the proper cord to get them attached to the motherboard, so at the moment, these fans are not lighting up. Not too big of a deal, since they need to be replaced with 140mm fans anyway.
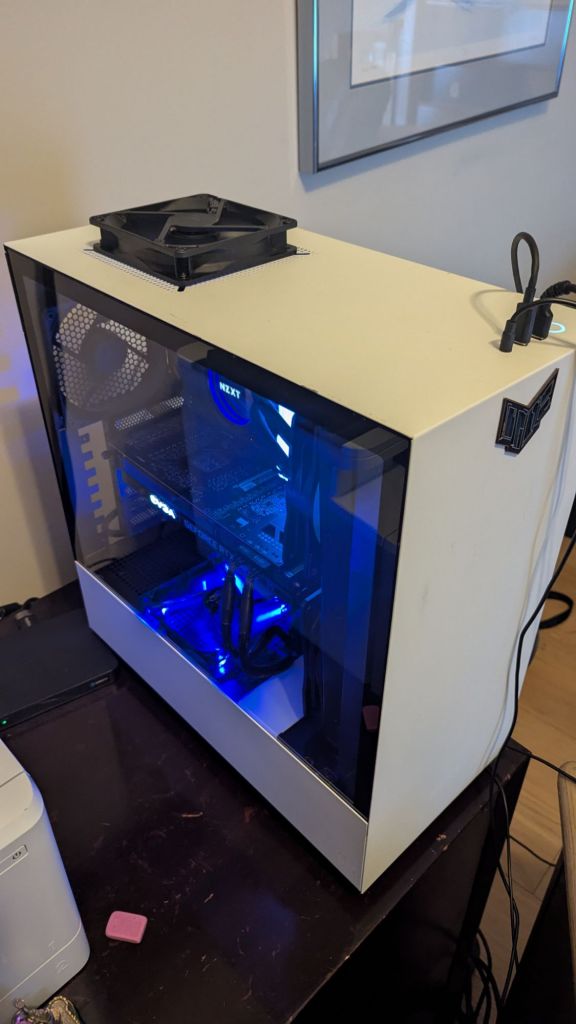
Case cooling mods: The older NZXT’s cooling is less than ideal, offering just small slots for intake air. I believe I will modify the case by drilling some holes in the front panel to allow for better airflow and sealing the case a bit more, especially around the radiator at the front of the case.
Fans: While all possible fan locations are filled, the mix and match of brands and sizes leaves me with some avenues for upgrades. First, the 2 120mm fans I have serving as exhaust on the radiator are obviously the wrong size and not intended for static pressure. I would like to get 2 more 140mm fans (same brand/speed as the 2 140mm intake fans, to increase surface coverage, look better, and provide the same airflow.
Next, I could upgrade the 3 other non-RBG fans (top and rear exhaust, bottom intake) to something a bit better in terms of fan speed and appearance.
Here is my current part list:
Case: Older NZXT White Case (will mod)
Graphics Card: EVGA RTX 3080
Power Supply: EVGA 850W
Motherboard: TUF Gaming X570-Pro (Wi-Fi 6)
CPU: AMD Ryzen 7 5800X
Cooling: NZXT Kraken X63 AIO 280mm (Push/Pull Fans)
Fans: 2 DeepCool RF120 RGB (intake setup on radiator, will replace with 2 140mm eventually), 2 140mm NZXT fans (exhaust setup on radiator), 2 120mm NZXT fans (rear and top exhaust), 1 120mm as intake on bottom of case)
Memory: 32GB Corsair Vengeance RGB Pro DDR4-3600
Storage: Samsung 980 NVME 1TB SSD (boot), Samsung 1TB 970 NVME, Samsung 2TB SSD
Summary
My father reports a huge performance improvement in Fallout VR, especially now that he can use the front USB-C port for his headset. I haven’t tried it myself yet, but by all accounts, this was a very worthwhile upgrade.
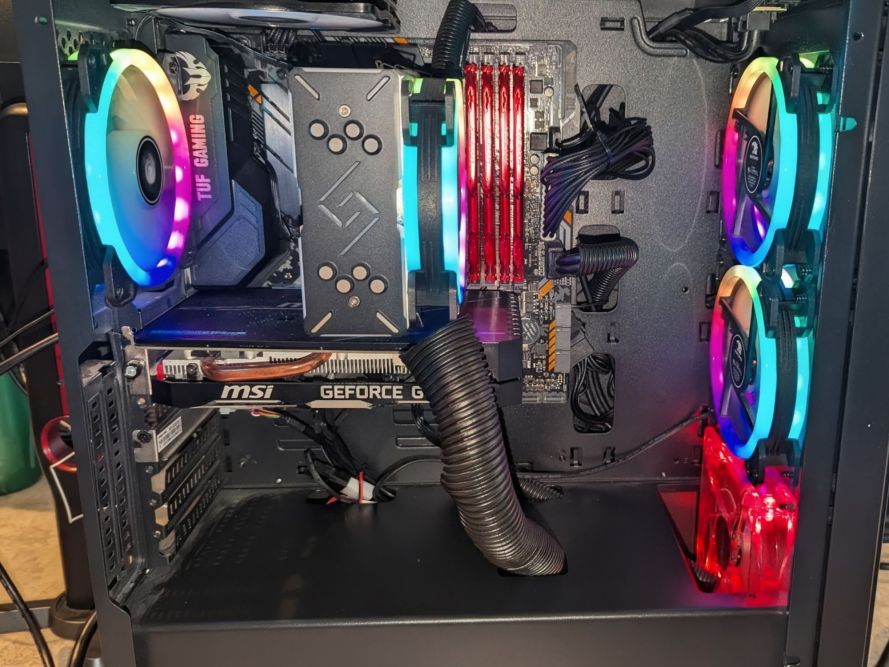
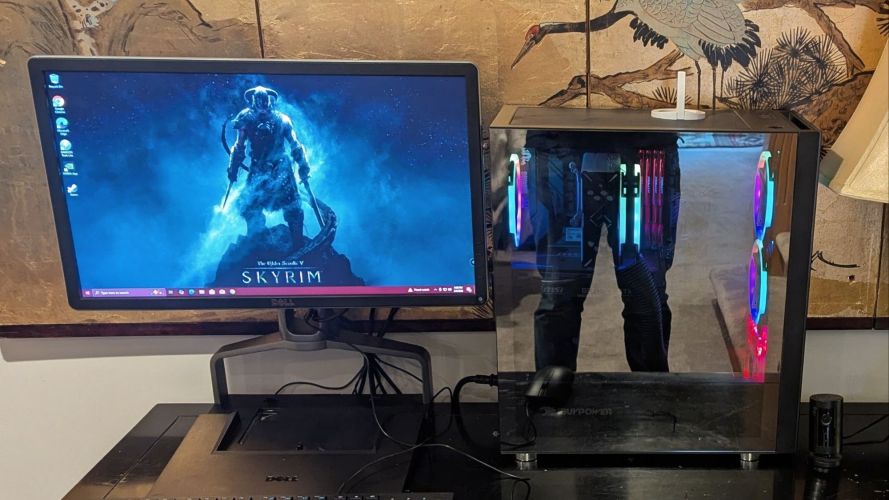
Nephew’s Skyrim Rig
Next, since I now had leftover parts from 2 different rigs, I wanted to get my nephew gaming on something a bit newer. Enter the Skyrim machine.
Here is my current part list:
- EVGA GTX 1660ti GPU
- EVGA 1000W PSU (overkill, but will get him a better GPU eventually)
- TUF B365M-Gaming Motherboard
- Intel i7 9700
- DEEPCOOL GAMMAXX GT BK, CPU Air Cooler
- 5 DEEPCOOL RF120 RGB Fans, 1 cheap 120mm
- 48GB DDR4 RAM (with custom heatsinks)
- 1TB – M.2 NVMe
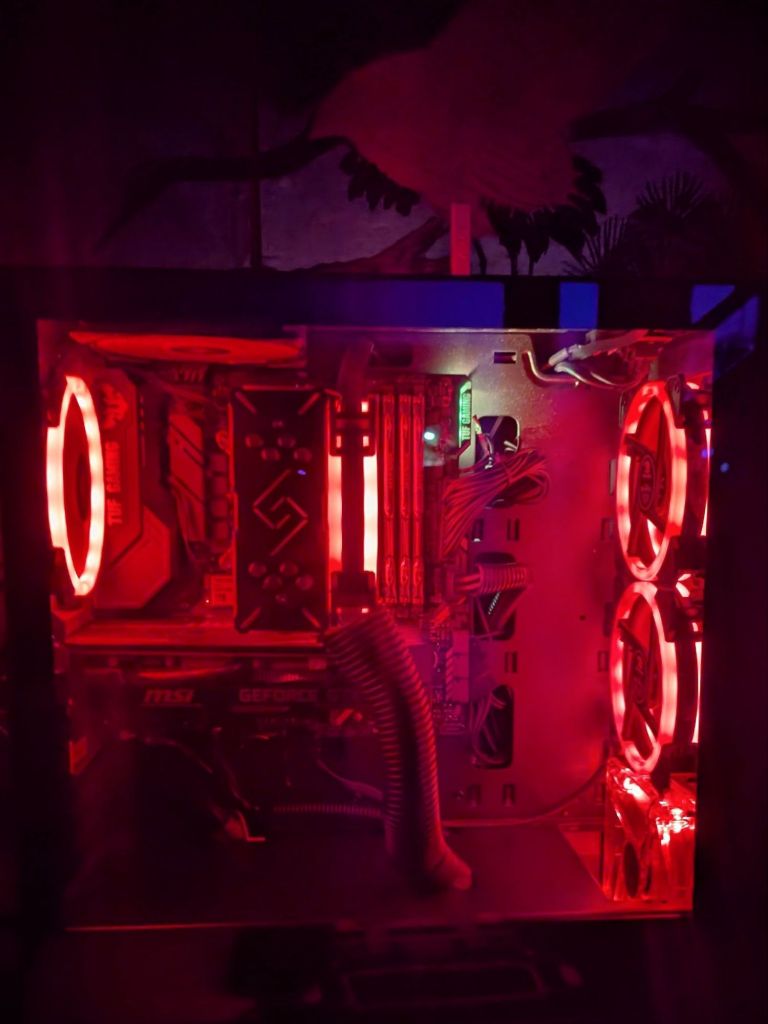
- iBuyPower Element Case
Here is my to-do list:
Since the components are old but decent enough for Skyrim, I will wait a bit on upgrading anything. However, I think on my next build for my main PC, I will hand down its old equipment to my father, then put his components into my nephew’s build, and then finally, probably build my long-awaited custom NAS with these existing pieces.
I do need to do the following:
- Wire management
- Sync up RGB, will probably go with red to match the older bottom intake fan
- Add an exhaust CPU fan
Summary
While older, this machine is actually quite fast, and most importantly, quiet. My nephew hasn’t been over to play it yet, but looking forward to him having his own machine to play Skyrim with. This machine also provides some excellent upgrade paths, so shopping for him for Christmas and Birthdays just got a lot easier!
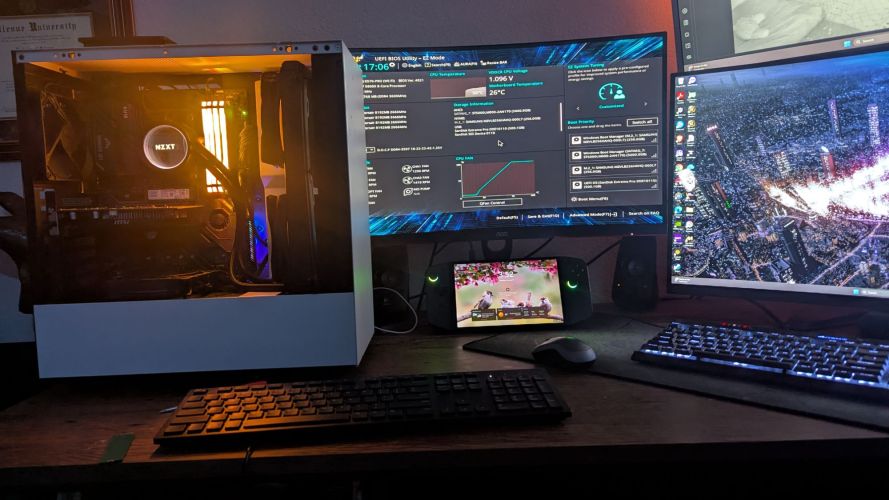
Update: Finally got the lights synced!
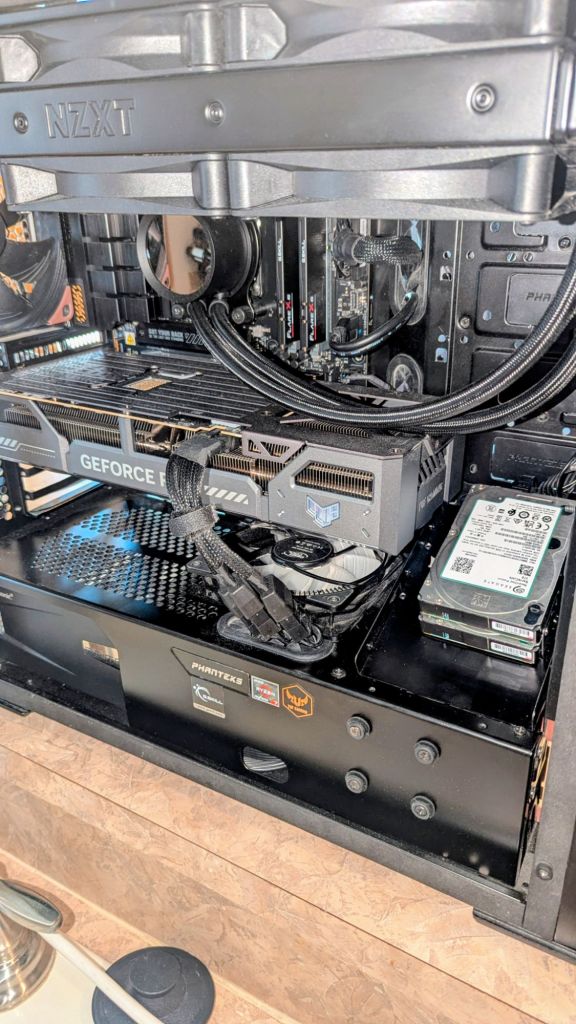
Storage Upgrade For Main Rig
While in the process of building the 2 PC’s, I figured I would throw some extra storage in my main rig. I had 2 5TB drives lying around, and utilized a hard drive caddy from an older PC to hold them.
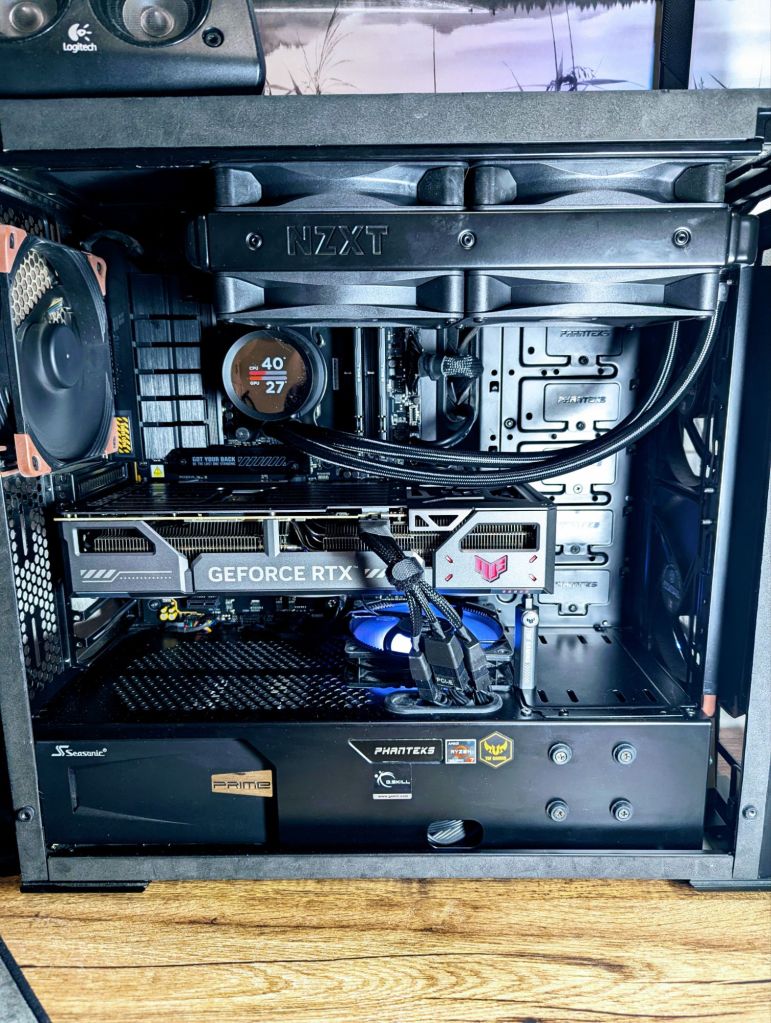
New Specs
- Case: Phanteks Evolv ATX
- Graphics Card: ASUS TUF Gaming GeForce RTX 5070 Ti OC Edition
- Power Supply: Seasonic PX1300 Platinum (1300W)
- Motherboard: ASUS B650-E TUF Gaming Wi-Fi
- CPU: AMD Ryzen 7 7800X3D
- Cooling System: Noctua NT-H1 thermal paste, 1 DeepCool RF120, 3 Noctua 140mm NF-A14 iPPC-3000 PWM, 1 Noctua 80mm NF-A8 PWM, 4 NZXT 140mm, RGBNZXT Kraken 280mm AIO with additional NZXT 140mm fans
- Memory: G.Skill Flare X5 Series 32GB (2 x 16GB) DDR5-6000 CL36
- Storage: Samsung 970 EVO SSD 1TB, 2 5TB drives
- Monitors: 32″ 165Hz 1440P Curved (Primary), 27″ 240Hz 1440P, 32″ 1080P
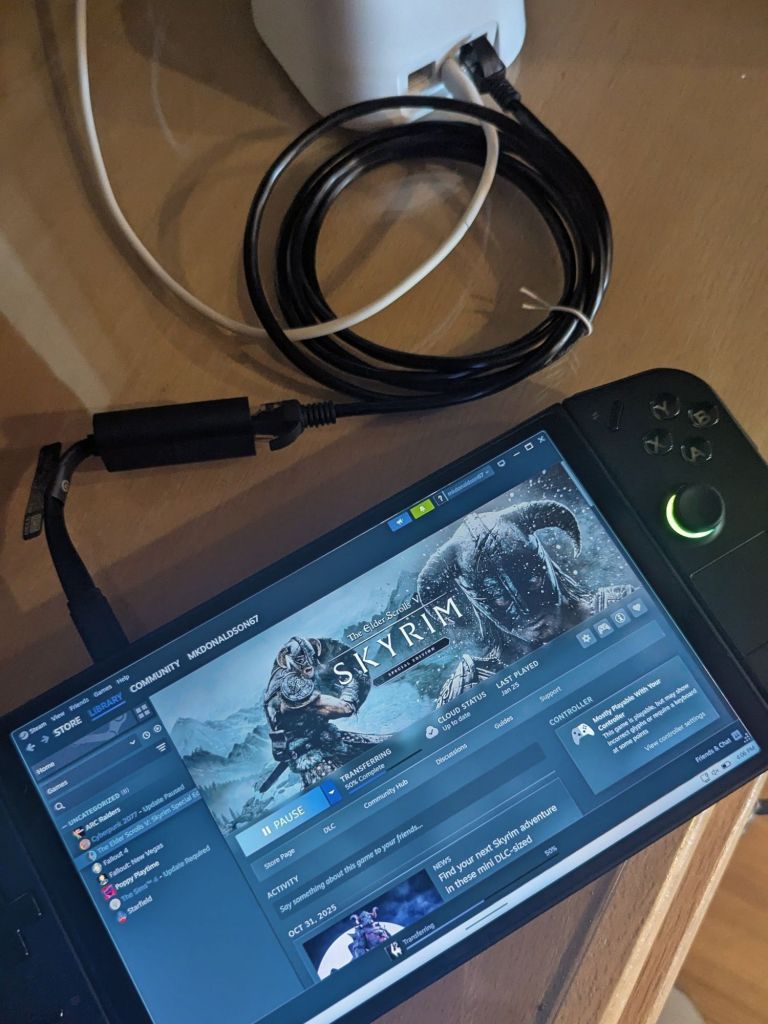
Second Gift for the Nephew
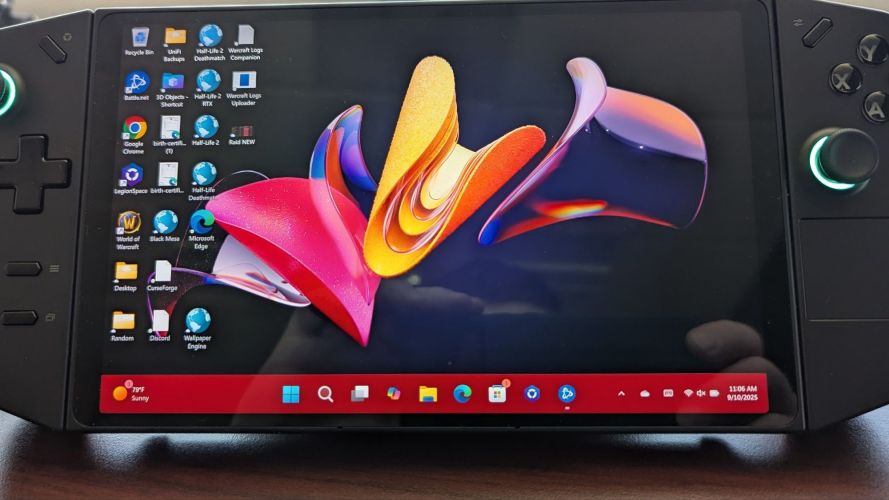
I also gave him my Legion Go 8APU1 that I never use as a late Christmas present, so he can play Skyrim on the go. As my son isn’t old enough for it yet (would probably destroy it), I am glad it will go to use. I also set him up with a docking station, keyboard and mouse, improved charger (120W, I believe), and an ethernet-to-USB-C adapter so he can get hardlined for large downloads.
Closing Thoughts
It is always a wonderful feeling to be able to share my love and knowledge of technology with others, especially in the form of gifts. While they all needed upgrades, these projects will also benefit me, as I just recently heard about multiplayer Skyrim, so I definitely want to give that a go! Overall, I spent less than $200 on all three of these upgrades (just a boot SSD for the nephew), as all of the parts were just lying around. Not too bad! Onto the next project.
Categories: Performance/Gaming


