

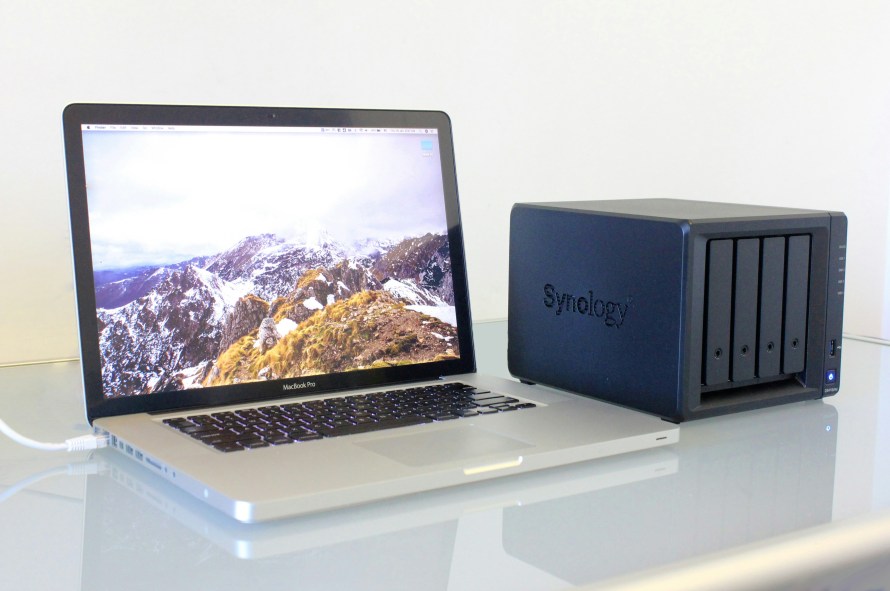
With my Home Assistant server now running optimally, it’s time to tackle the next logical project in my homelab journey: upgrading my network-attached storage (NAS).
At the moment, my household relies on two aging and less-than-ideal storage solutions:
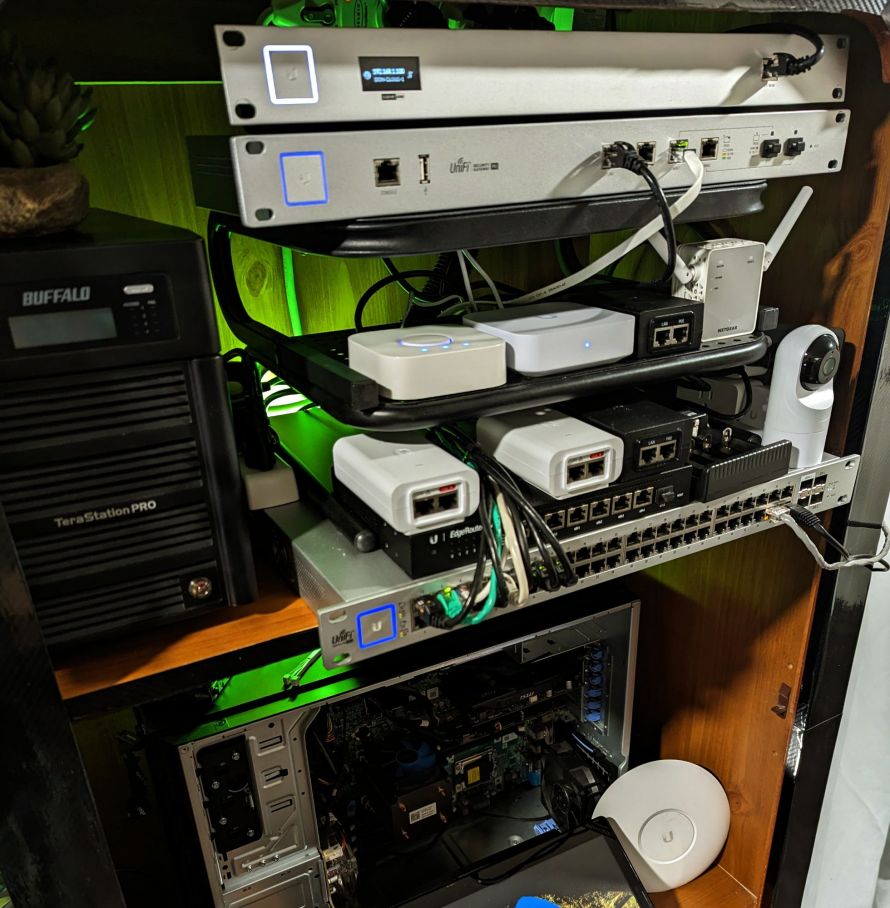
- A Buffalo NAS that’s over a decade old
- A 5 TB hard drive living inside my main PC
While I don’t maintain a massive media library or hoard terabytes of data, I do need something that is:
- Reliable
- Easy to access
- Simple enough for elderly family members
- Energy-conscious, since this will run 24/7
Below, I’ll walk through the four main approaches I’ve considered—ranging from upgrading existing hardware to building a high-performance custom NAS—and break down the installation complexity, benefits, limitations, and long-term viability of each.
Option 1: Upgrading the Existing Buffalo NAS
Current Situation
The Buffalo NAS was salvaged during a clinic demolition and has served reliably for years. It likely contains five 300 GB drives, though exact specs are fuzzy at this point. By modern standards, this hardware is extremely dated.
Upgrade Path
In theory, upgrading this NAS would involve:
- Replacing all drives with larger SATA HDDs
- Rebuilding the RAID array
- Hoping the firmware supports modern drive sizes
- Accepting older network speeds (likely Gigabit only)
- Living with a slow CPU and limited RAM
Benefits
- Extremely low cost (reuse existing hardware)
- Proven reliability
- Ideal for offline or cold storage
- Perfect for important documents (financial, military, government records)
Weaknesses
- Very limited performance
- Questionable compatibility with large modern drives
- No modern security features
- Poor UI and dated management tools
- Likely inefficient power usage per TB stored
Verdict
Rather than forcing new life into obsolete hardware, this NAS makes far more sense as:
Offline, long-term archival storage, disconnected from the network and only powered on when needed.
This reduces risk while preserving valuable data—without expecting more than the hardware can realistically deliver.
Option 2: Turning the Dell PowerEdge T420 Into a NAS

Hardware Overview
My Dell PowerEdge T420 is already partially upgraded:
- Dual Xeon E5-2470v2 CPUs (planned)
- 48 GB ECC RAM
- Boot SSD
- GPU installed
- Additional cooling upgrades
- RAID HDDs planned for replacement with SSDs
Installation Approach
This would likely involve:
- Installing TrueNAS SCALE or Proxmox
- Passing storage through to a NAS VM or container
- Configuring RAID or ZFS
- Running SMB/NFS shares
- Possibly hosting additional services alongside NAS duties
Benefits
- Enterprise-grade reliability
- ECC memory
- Expandability
- Virtualization support
- Can serve multiple roles (NAS + VMs + containers)
Weaknesses
- High power consumption
- Significant heat output
- Audible fan noise
- Overkill for basic file storage
- Costly to operate 24/7
Verdict
While powerful, the T420 feels like using a sledgehammer to hang a picture—at least for now.
Until I’m running multiple production workloads, virtual machines, or heavier compute tasks, this server is better kept offline or on-demand, rather than as a continuously running NAS.
Option 3: Expanding the Home Assistant Server into a NAS

Concept
This is one of the most appealing ideas:
Add storage directly to the Home Assistant server and expose it using Samba (SMB).
Implementation
- Install the 5 TB drive into the Home Assistant machine
- Use:
- Samba NAS Add-on
- Or native Linux SMB services
- Share folders directly to the network
- Control permissions via Home Assistant or OS-level tools
Benefits
- Lowest complexity for users
- Single system to manage
- Low power consumption (SFF PC)
- Already running 24/7
- No extra hardware costs
- Seamless network access
Limitations
- Limited drive expansion
- No redundancy unless manually configured
- Performance tied to Home Assistant hardware
- Mixing infrastructure roles (automation + storage)
- Not designed as a full-scale NAS OS
Best Use Case
This setup excels if:
- Storage needs are modest
- Simplicity is the top priority
- Users just want a “network folder”
- Reliability > performance
- You already back up elsewhere
Verdict
For ease of use and power efficiency, this is arguably the best short-term solution.
However, storage scalability and redundancy concerns may push me toward something more purpose-built down the line.
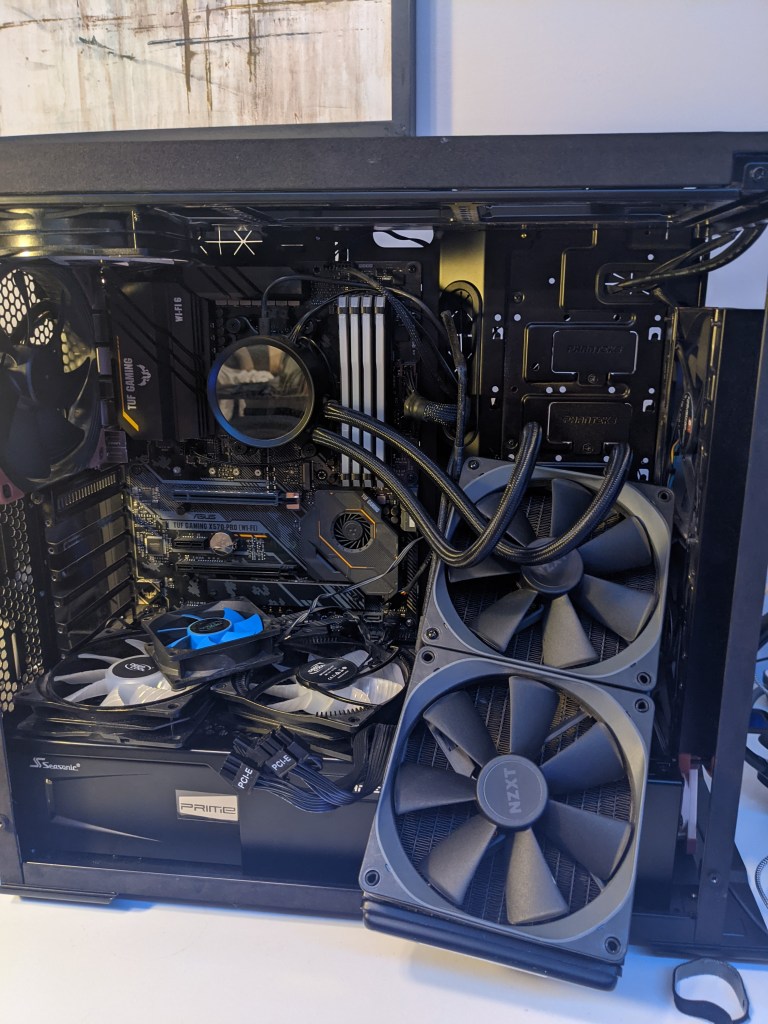
Option 4: Building a Custom NAS from Spare Parts
Available Hardware
I already own everything needed to build a very capable NAS:
- CPU: Ryzen 7 5800X
- Motherboard: ASUS TUF Gaming X570-Pro (Wi-Fi 6)
- RAM: 32 GB DDR4-3600
- Case: Older NZXT White Case
- PSU: EVGA 850W
- Cooling: NZXT Kraken X63 (280mm AIO, push/pull)
- Fans: Mix of Noctua and DeepCool
- GPU: RX 450 (backup), RTX 3090 (currently dead, need to try to fix)
- Storage: Spare NVMe SSD
NAS Software Options
- TrueNAS SCALE
- Unraid
- OpenMediaVault
- Proxmox with NAS VM
Benefits
- Highest performance
- Excellent drive expansion
- Modern filesystems (ZFS, Btrfs)
- Docker and VM support
- Snapshotting and replication
- Potential remote gaming server
- Media transcoding (if GPU revived)
Downsides
- Higher power usage than SFF systems
- Increased complexity
- More maintenance
- Overkill for basic storage needs
- Requires careful configuration to remain user-friendly
Bonus: Remote Gaming Potential
If the RTX 3090 can be revived (oven trick or repair), this system could:
- Run Moonlight or Parsec
- Stream games to tablets or laptops
- Act as a cloud gaming box
- Double as a high-performance VM host
Verdict
This would be the ultimate solution, offering maximum flexibility and future-proofing—but it comes at the cost of power usage, complexity, and setup time.
Final Thoughts: Choosing the Right Path
Each option has a clear role:
| Option | Best For |
|---|---|
| Buffalo NAS | Offline archival storage |
| PowerEdge T420 | Enterprise workloads (later) |
| Home Assistant NAS | Simplicity & low power |
| Custom NAS | Performance & expandability |
Likely Path Forward
In the short term:
- Home Assistant NAS expansion for simplicity and cost savings
Long term:
- Custom NAS build once storage needs grow or new use cases emerge
Meanwhile:
- Keep the Buffalo NAS as cold storage
- Leave the T420 idle until it’s truly needed
Closing Thoughts
One of the biggest lessons in homelabbing is learning when not to overbuild.
A NAS doesn’t need to be flashy—it needs to be reliable, simple, and quiet, especially when serving non-technical family members.
As my homelab continues to evolve, this NAS decision will likely grow alongside it—but for now, efficiency and accessibility take priority over raw horsepower.
If you’re in a similar position, the best NAS isn’t the fastest one—it’s the one that fits your actual daily needs.
Categories: Hardware


