

Happy 660th post!
Recently, I decided to overhaul my setup as I needed to replace my broken RTX 3090 FTW3, and without a full system upgrade, I would most likely be quite bottlenecked on my old 5800x. Here’s a detailed breakdown of my latest upgrades, from installation to performance improvements.
Original Specs
- Case: Phanteks Evolv ATX
- Graphics Card: EVGA GeForce RTX 3090 FTW3 Ultra Gaming
- Power Supply: Seasonic PX1300 Platinum (1300W)
- Motherboard: TUF Gaming X570-Pro (Wi-Fi 6)
- CPU: AMD Ryzen 7 5800X
- Cooling: NZXT Kraken X63 AIO 280mm (Push/Pull Fans)
- Fans: 3 DeepCool RF120 RGB, 3 Noctua 140mm NF-A14 iPPC-3000 PWM, Noctua 80mm NF-A8 PWM, DeepCool 80mm Fan on GPU
- Memory: 32GB Corsair Vengeance RGB Pro DDR4-3600
- Storage: Samsung 970 EVO SSD 1TB – M.2 NVMe
- Monitor: 32″ 165Hz 1440P Curved
New Components
- Case: Phanteks Evolv ATX
- Graphics Card: ASUS TUF Gaming GeForce RTX 5070 Ti OC Edition
- Power Supply: Seasonic PX1300 Platinum (1300W)
- Motherboard: ASUS B650-E TUF Gaming Wi-Fi (AM5)
- CPU: AMD Ryzen 7 7800X3D (3D V-Cache Technology)
- Cooling System: Noctua NT-H1 thermal paste, 1 DeepCool RF120, 3 Noctua 140mm NF-A14 iPPC-3000 PWM, 1 Noctua 80mm NF-A8 PWM, 4 NZXT 140mm, RGBNZXT Kraken 280mm AIO with additional NZXT 140mm fans
- Memory: G.Skill Flare X5 Series 32GB (2 x 16GB) DDR5-6000 CL36
- Storage: Existing Samsung 970 EVO SSD 1TB, plus a 5TB backup drive
- Monitors: 32″ 165Hz 1440P Curved (Primary), 27″ 240Hz 1440P, 32″ 1080P
Build Notes:
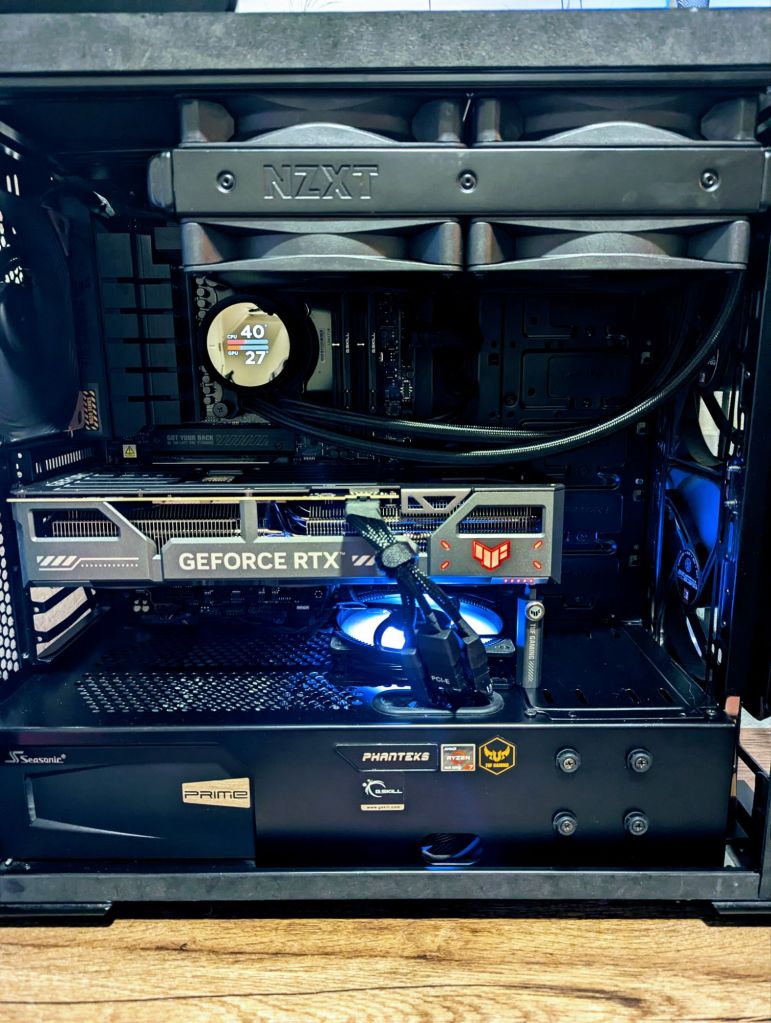
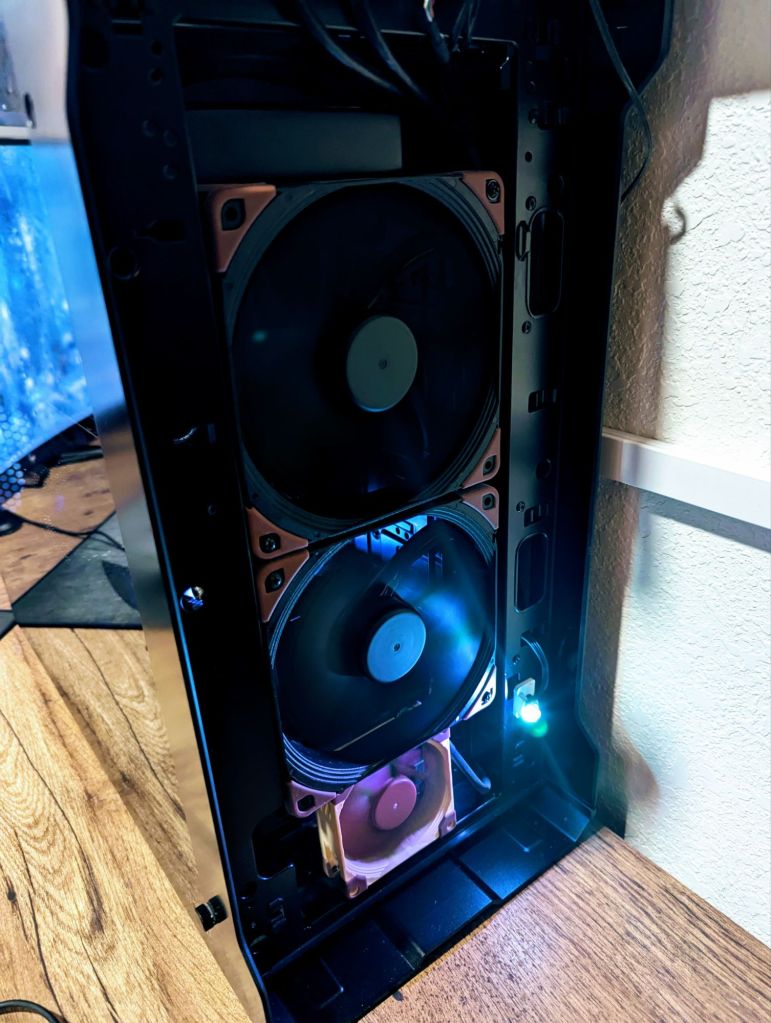
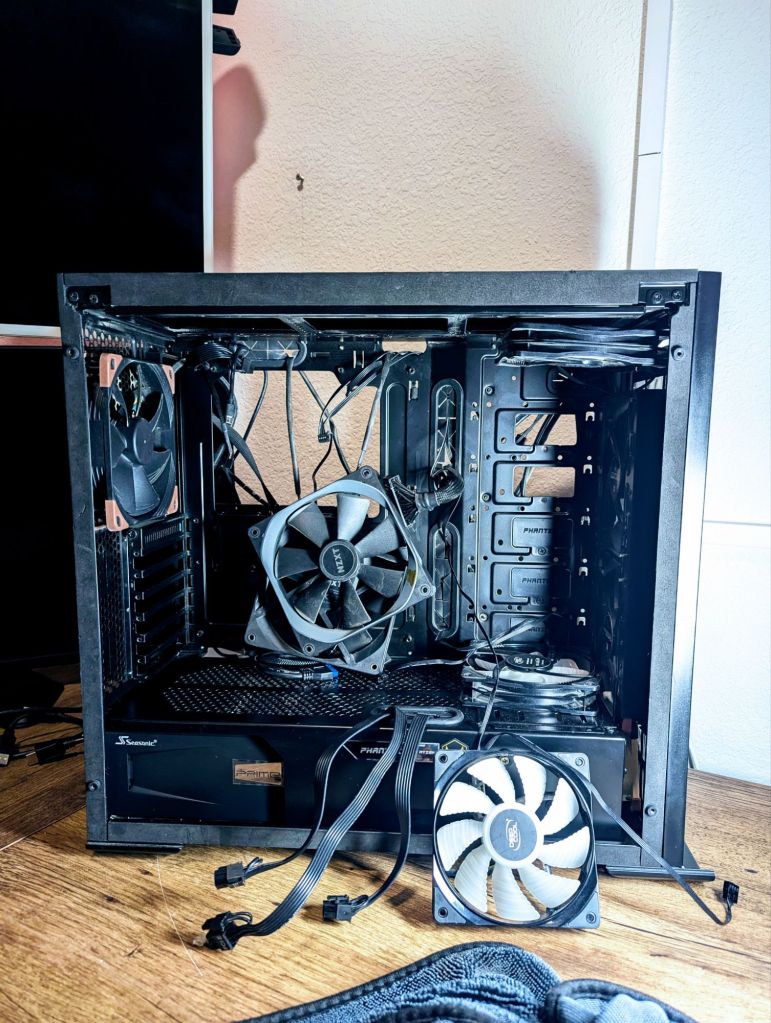
To summarize, my 7800X3D is connected to an NZXT Kraken 280mm AIO with 2 additional NZXT 140mm fans in a push/pull setup while using Noctua NT-H1 thermal paste instead of the factory NZXT paste. I have Noctua intake fans (2 140mm and 1 80mm), a Noctua 140mm exhaust fan in the rear, and a DeepCool RF120 on the bottom of the case pulling cold air up from the bottom via the additional 80mm Noctua fan at the bottom-front of the case.
The hardware section of the install was quite simple, except for some issues with fan control (I am still working on the 4 push/pull CPU fans being able to be controlled all at once) and some RAM overclock problems. However, the software side of things was a mess, leading me to have to do a full Windows reinstall to get the NVIDIA drivers to install correctly.
Performance Improvements
- Gaming: The combination of the Ryzen 7 7800X3D and RTX 5070 Ti provides a massive boost in 1440P and 4K gaming. Experiencing high frame rates and smooth gameplay, even with demanding titles, should be the norm.
- Productivity: With the CPU’s 3D V-Cache technology, multitasking and productivity tasks run faster and smoother.
- Cooling & Noise Reduction: The enhanced cooling setup keeps temperatures under control, while Noctua and NZXT fans ensure low noise levels.
Future Upgrades
- Storage: Upgrading to a PCIe 4.0 or 5.0 M.2 NVMe SSD could reduce load times significantly.
- Cooling: Swapping the 4 factory NZXT 140mm fans for Noctua variants would be ideal.
- RAM Capacity: I may upgrade my RAM to a better version if I can’t get my current to overlock to 6Ghz.

Conclusion
This upgrade transformed my system from a solid performer to a cutting-edge powerhouse. The synergy between the Ryzen 7 7800X3D and RTX 5070 Ti offers remarkable performance for both gaming and productivity. I’ll be benchmarking this build soon to show just how well it performs under real-world conditions.
Overclocking:
At the moment, I have my 7800X3D running at 5Ghz, and my GPU running at the max allowed overclock (clock and memory). For RAM, I have been having issues getting the sticks to 6 GHz no matter what I do, but I will continue to tinker with it.
Update: I finally found the issue. The RAM I got had different timings than the factory. After inputting my real timings, I enabled Expo 1, and bam, steady 6 GHz.
At my current overclock settings, with my fans all running at around 1550 RPM, the peak temperatures I got in Cyberpunk 2077’s graphic test were all under 60C, showing that my cooling system is more than adequate to tackle the overclocks I set.
Performance:
As I don’t play a lot of different PC games, I have only run World of Warcraft and Cyberpunk for testing. In World of Warcraft, I get a steady 165 FPS in most areas except for heavily populated cities with all settings maxed (1440p). I believe this gave me an around 50 FPS upgrade in normal scenarios. In Cyberpunk 2077, I got a steady 230 FPS no matter what with all settings (1440p).
Stay tuned for more updates and benchmarks!
Categories: Hardware


